This step assumes you have completed the previous procedures in :
Step 2: How do you Verify your New Account?
If you have not, please go to the link above and complete the procedures there first.
This article is to help perform the last part of the verification process using facial recognition on your desktop computer or PC.
If you wish to perform this on your smartphone, please refer to this article instead.
If you have, please continue on this article.
1. Please make sure you have :
a. A clear photo taken of the front of your identity document
b. A clear photo taken of the back of your identity document
c. A connected webcam
d. Sufficient light to clearly take selfies of your face
2. Make sure you have the "Submit identity card (front)" page on your screen from the end of the previous guide (Step 2: How do you Verify your New Account?)
Click on the "Upload photo - no scans or photocopies" link.
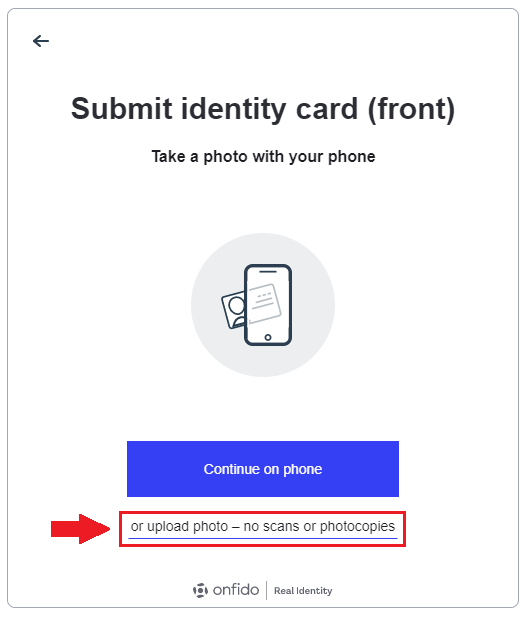
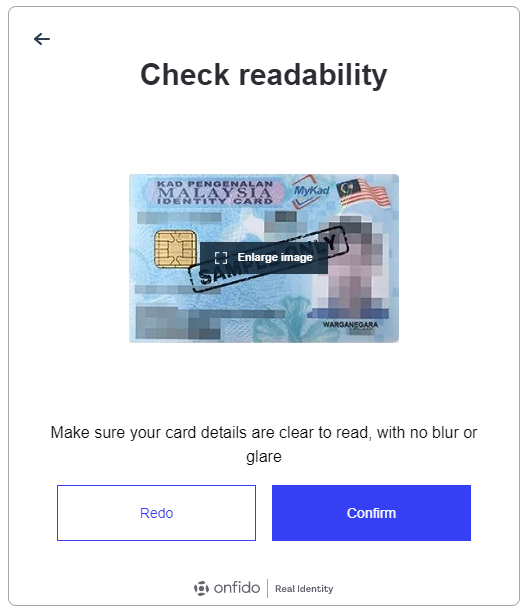
3. A file dialog box will pop-up for you to choose your ID's photo file. Once done, the system will show you the ID photo that you have uploaded.
Please make sure you upload a photo of the front of your ID document.
Note: It is important that the text on the ID photo can be clearly read, and that the image of your face is not blur or has any glare.
Click the blue "Confirm" button.
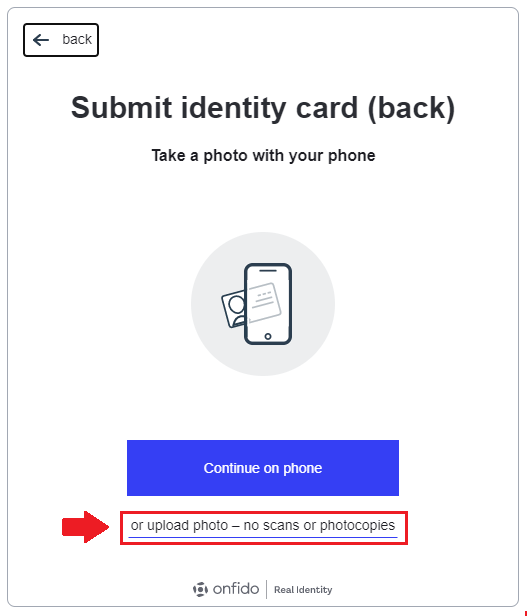
4. A screen asking you to submit a photo of your identity card's back appears. If you wish to continue submitting via your desktop computer or PC, click on the "Upload photo - no scans or photocopies" link This is similar to the previous step's process.
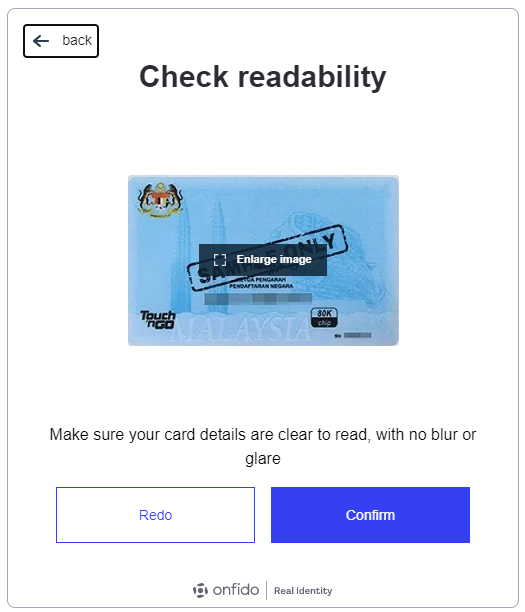
5. As per the previous step, a file dialog box will pop-up for you to choose your ID's photo file. Once done, the system will show you the ID photo that you have uploaded.
Please make sure you upload a photo of the back of your ID document.
Note: It is important that the text on the ID photo can be clearly read, and that the photo is not blur or has any glare.
Click the blue "Confirm" button.
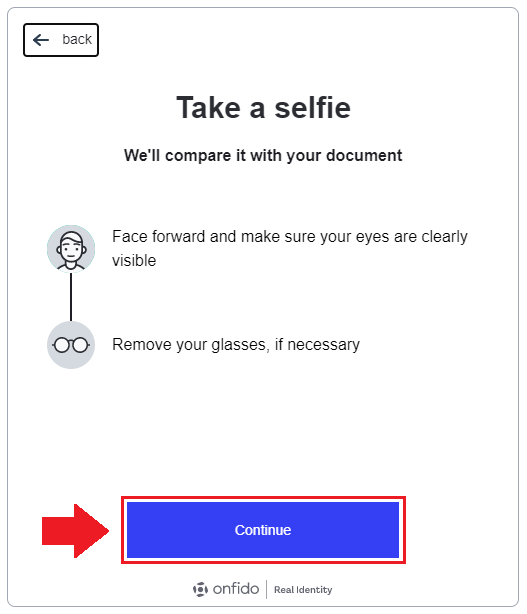
6. In this next step, please make sure your desktop/web camera is turned on and that you are ready to take a selfie with it.
You must take off any item that might cover part or all of your face, such as glasses, masks and headwear. Your eyes must be clearly visible.
Click the blue "Continue" button.
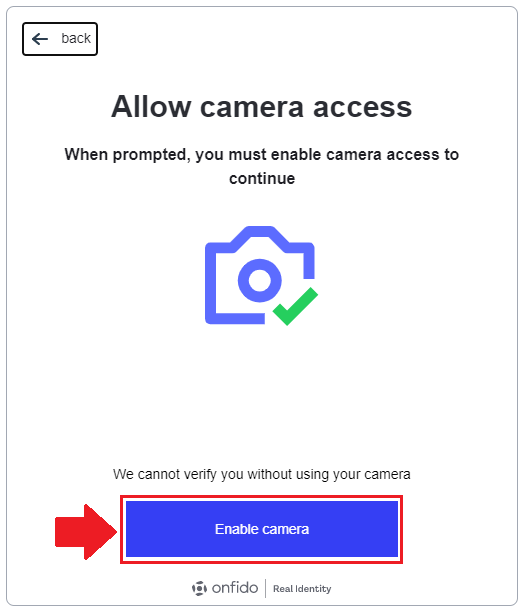
7. Sometimes, due to restrictions on some desktop operating systems, you must allow access to your camera. Please click on the "Enable Camera" button.
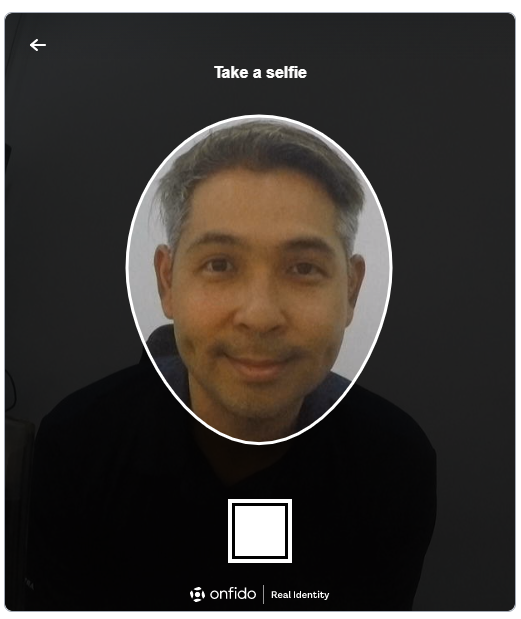
8. A camera interface will appear. Please make sure your face fits just nicely inside the egg-shaped circle on the screen, as per the example below.
Click on the white square once you are ready.
9. If the photo is taken correctly, the screen below will appear.
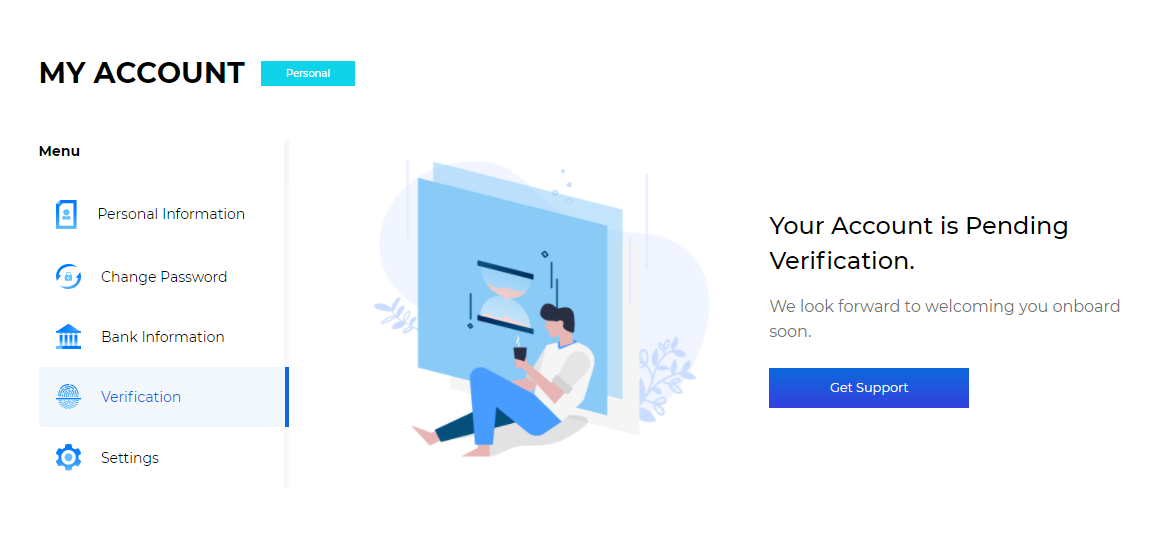
10. That's it for verifying your account! Once our compliance team has vetted through your submission, you will be notified via email OR you can periodically check by logging into your account.
Once verified by our compliance team, your next step will be to deposit MYR fiat currency. The next step in the guide will walk you through this: Step 3: How do you Deposit Malaysian Ringgit (MYR)?